
How to Refinish a Vintage Coffee Table for a Modern Look
Introduction
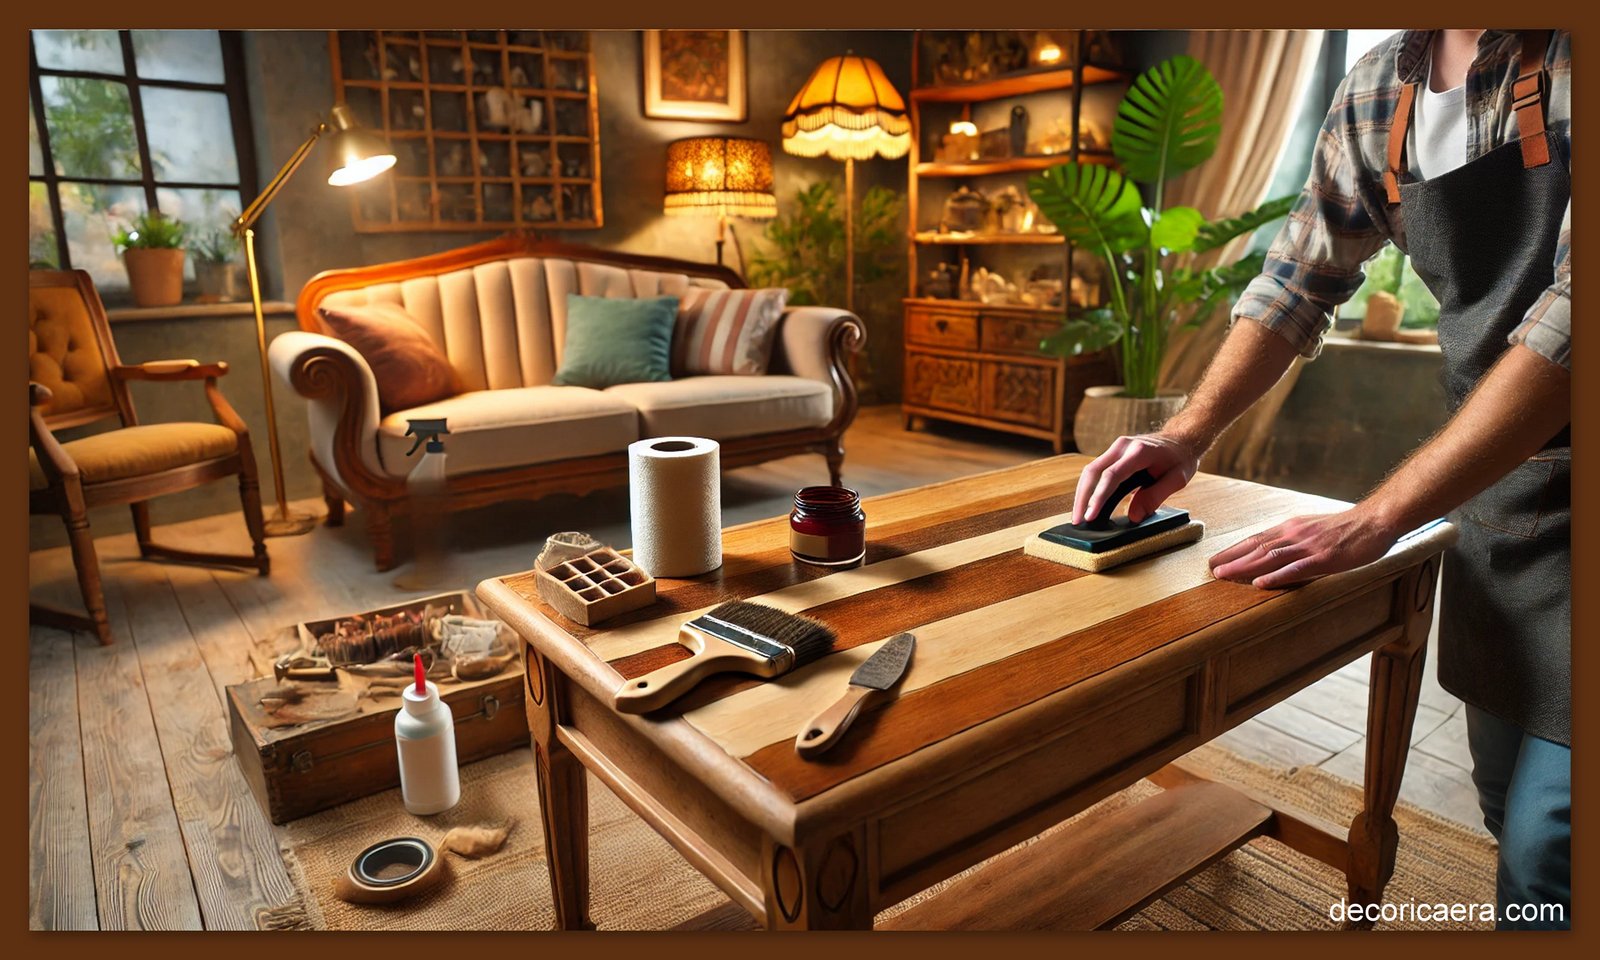
A vintage coffee table can be a beautiful statement piece, but years of wear and outdated finishes may make it look out of place in a modern home. Instead of replacing it, why not refinish it? With the right tools and techniques, you can breathe new life into an old coffee table and transform it into a stylish and functional centerpiece.
This guide will walk you through the entire refinishing process—from preparation to the final finishing touches—so you can achieve a fresh, modern look while preserving the charm of your vintage piece.
Table of Contents
1. Why Refinish a Vintage Coffee Table?
2. Tools & Materials You’ll Need
3. Preparing the Coffee Table for Refinishing
4. Choosing the Right Finish (Paint vs. Stain)
5. Step-by-Step Refinishing Process
6. Pro Tips for a Flawless Finish
7. Maintenance & Care for Your Refinished Table
8. FAQs
1. Why Refinish a Vintage Coffee Table?
Refinishing a vintage coffee table offers several benefits:
· Cost-effective: Instead of buying a new table, you can update an old one at a fraction of the cost.
· Eco-friendly: Reduce waste by upcycling furniture instead of discarding it.
· Customization: Choose a color, stain, or finish that perfectly matches your modern décor.
· Preserve sentimental value: If the table has been in your family for years, refinishing it allows you to keep its history alive.
2. Tools & Materials You’ll Need
Before starting, gather the necessary tools and materials:
Tools:
✔ Sandpaper (80-, 120-, and 220-grit)
✔ Paint scraper
✔ Electric sander (optional)
✔ Paintbrushes or foam rollers
✔ Tack cloth
✔ Screwdriver (for removing hardware)
Materials:
✔ Wood filler (if needed)
✔ Primer (if painting)
✔ Paint or wood stain
✔ Polyurethane or wax sealer
✔ Painter’s tape
✔ Gloves & protective mask
3. Preparing the Coffee Table for Refinishing
Step 1: Clean the Table
Wipe down the table with a damp cloth to remove dust, dirt, and grease. If there’s heavy grime buildup, use a mild detergent mixed with warm water.
Step 2: Remove Hardware
If the table has any drawers or metal details, remove the hardware using a screwdriver. This makes the refinishing process easier.
Step 3: Sanding the Surface
· For previously painted tables: Use 80-grit sandpaper to strip away old paint, followed by 120-grit to smooth the surface.
• For wood that has been stained: Begin with 120-grit sandpaper and conclude with 220-grit for a smooth finish. Following the sanding process, use a tack cloth to wipe the table and eliminate all dust.
4. Choosing the Right Finish (Paint vs. Stain)
Painting for a Modern Look
If you want a sleek, contemporary appearance, painting is a great option.
· Best Colors for a Modern Look: White, black, charcoal gray, navy blue, or muted pastels.
· Pro Tip: Use a high-quality primer before painting to ensure even coverage and longevity.
Staining for a Natural Finish
For a mid-century or Scandinavian modern aesthetic, staining enhances the natural beauty of wood.
· Best Stain Colors: Light oak, dark walnut, or gray-toned stains.
· Pro Tip: Apply multiple thin coats for a rich, even finish.
5. Step-by-Step Refinishing Process
Step 1: Apply Primer (If Painting)
Utilize a foam roller or brush to spread a uniform layer of primer.
Step 2: Paint or Stain the Table
· For Paint: Use smooth, even strokes. Apply at least two coats, letting each layer dry fully.
· For Stain: Use a clean cloth or brush to apply the stain in the direction of the wood grain. Remove any surplus stain and let it dry.
· Step 3: Apply a Protective Finish
Seal the table with polyurethane (for a glossy finish) or wax (for a matte, vintage feel). This protects it from scratches and spills.
Step 4: Reassemble and Style
Once the finish is dry, reattach hardware, and enjoy your beautifully refinished coffee table!
6. Pro Tips for a Flawless Finish
✔ Use light coats to avoid streaks or drips.
✔Sand between coats (using fine-grit sandpaper) for a super-smooth finish.
✔ Work in a well-ventilated area to speed up drying time.
✔ Use a foam roller for a brushstroke-free paint finish.
7. Maintenance & Care for Your Refinished Table
To keep your newly refinished coffee table looking great:
· Use coasters to prevent water rings.
· Dust regularly with a soft cloth.
· Steer clear of strong cleaning products—opt for gentle soap and water instead.
· Touch up paint or stain as needed to keep it fresh.
8. FAQs
Q1: Do I need to strip old paint before repainting?
If the old paint is peeling or uneven, stripping is recommended. If it’s smooth, you can paint over it after sanding.
Q2: Can I refinish a table without sanding?
While sanding ensures the best adhesion, you can use a liquid deglosser as an alternative for light refinishing jobs.
Q3: How long does the refinishing process take?
Depending on drying times, expect to spend 2-3 days on the entire project.
Q4: What’s the best sealer for a coffee table?
For durability, polyurethane is best. If you prefer a matte look, wax finishes work well.
Q5: Can I mix paint and stain on the same table?
Yes! Try staining the tabletop while painting the legs for a trendy two-tone effect.
Conclusion
Refinishing a vintage coffee table is a fun and rewarding DIY project that can transform an old piece into a modern masterpiece. Whether you opt for paint or stain, the key is proper preparation and attention to detail. With these expert tips, your refinished coffee table will become a stylish and functional focal point in your home.
It’s time to gather your supplies and begin! Have you previously refinished a piece of furniture? Share your experience in the comments


