
The Art of Repairing Vintage Picture Frames | DIY Restoration Guide
Introduction
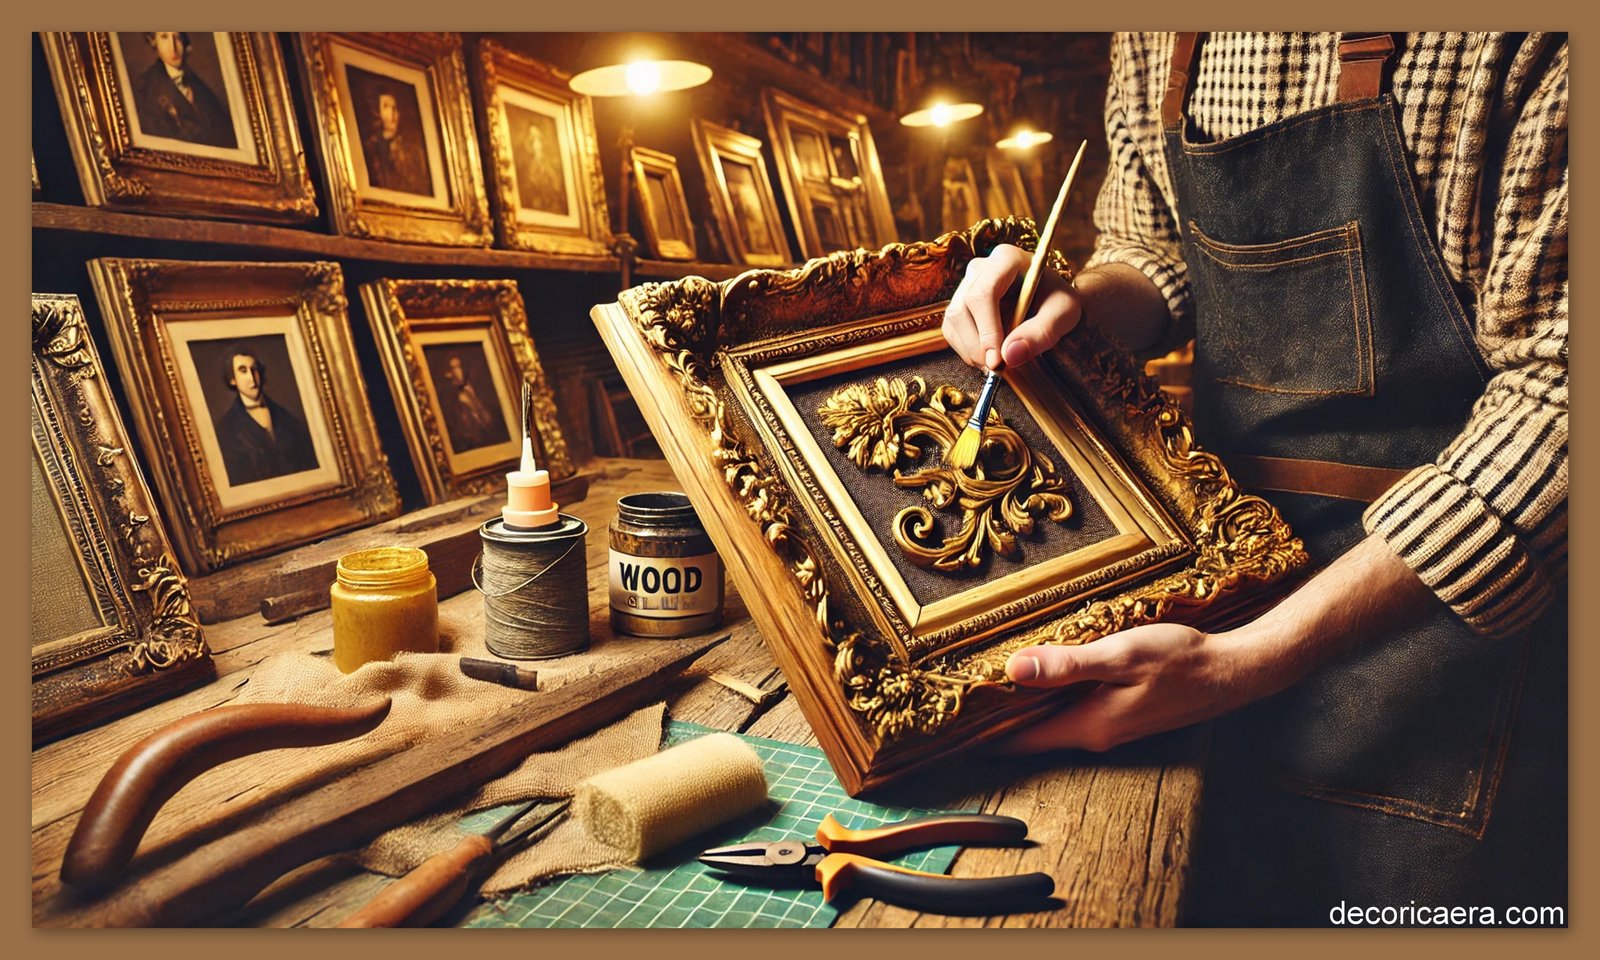
Vintage picture frames add a timeless elegance to any space. Whether they hold cherished family photos or classic artwork, their intricate designs and rich history make them worth preserving. Nonetheless, as items age, they often experience deterioration—common problems include damaged wood, flaking gold leaf, and wobbly joints. Fortunately, restoring a vintage frame is a rewarding DIY project that breathes new life into these beautiful relics.
This guide will walk you through the essential steps of repairing vintage picture frames, from assessing damage to refinishing and preserving their antique charm.
Table of Contents
1. Assessing the Condition of Your Frame
2. Cleaning and Removing Old Finishes
3. Repairing Cracks, Chips, and Gaps
4. Restoring Gilding and Decorative Details
5. Reassembling and Reinforcing the Frame
6. Refinishing for a Polished Look
7. Preserving and Displaying Your Restored Frame
8. Pro Tips for a Successful Restoration
9. FAQs on Vintage Frame Repair
1. Assessing the Condition of Your Frame
Before you start, carefully examine the frame to identify any damage. Look for:
· Structural issues: Loose corners, broken joints, or missing pieces
· Surface impairment: Scratches, nicks, or fractures in the wood or plaster.
· Gilding wear: Fading, flaking, or missing gold leaf
· Paint or finish problems: Peeling paint or tarnished varnish
Pro Tip: Take close-up photos before you begin so you can track your progress and reference the original look.
2. Cleaning and Removing Old Finishes
Dirt, grime, and old finishes can mask details and make repairs difficult. Clean the frame with:
· Mild soap and water: For light dust and grime
· Mineral spirits: For eliminating old wax or polish.
· Denatured alcohol: If the frame has a shellac finish
Avoid soaking the frame, as excessive moisture can damage the wood. Use a soft brush or cotton swab for intricate carvings.
Pro Tip: Test any cleaning solution on a small, hidden area first to ensure it won’t harm the finish.
3. Repairing Cracks, Chips, and Gaps
To fix cracks or missing pieces:
· Wood filler or epoxy putty: Ideal for small gaps and chips
· Carving replacement pieces: For larger missing sections, carve a similar shape from softwood and glue it in place
· Clamping loose corners: Use wood glue and clamps to stabilize joints
After repairs, sand gently with fine-grit sandpaper to blend edges.
Pro Tip: If a piece is missing from an ornate section, use molding clay or silicone molds to replicate and replace it.
4. Restoring Gilding and Decorative Details
Numerous antique frames showcase intricate gold leaf or ornamental paint. To restore gilding:
• Spread gold leaf adhesive (size): Allow it to get tacky prior to applying the gold leaf.
• Gently apply the gold leaf onto the frame: Utilize a soft brush to smooth it down.
· Seal with a protective varnish: This prevents future flaking
For painted details, match colors using high-quality acrylic or oil paints.
Pro Tip: If you prefer a slightly aged look, gently rub a dark wax or glaze over the gold leaf after it dries.
5. Reassembling and Reinforcing the Frame
After repairs, ensure the frame is sturdy:
· Tighten loose corners: Use L-brackets or small nails for extra support
· Check hanging hardware: Replace old wires or hooks with stronger alternatives
· Use felt pads on the back: This protects the wall and frame edges
6. Refinishing for a Polished Look
Once repaired, refinish the frame to enhance its beauty:
· Staining: For wooden frames, apply a stain to match the original tone
· Clear coat: Protects the frame while maintaining its vintage appeal
· Antiquing glaze: Adds depth and character for a true antique feel
Pro Tip: Avoid over-polishing—vintage frames look best with a slightly aged finish.
7. Preserving and Displaying Your Restored Frame
To keep your frame in top condition:
· Avoid direct sunlight: Prevents fading and damage
· Use UV-protective glass: Shields artwork or photos from light exposure
· Keep in a stable environment: Avoid extreme humidity or dryness
8. Pro Tips for a Successful Restoration
Work in a well-lit area for detailed repairs
Use tweezers and small brushes for intricate details
Be patient—restoration is a meticulous process
When in doubt, consult an antique expert for advice
9. FAQs on Vintage Frame Repair
Q: Can I repair a frame with missing corner pieces?
A: Employ a gentle brush or a dry microfiber cloth.
Q: How do I know if my frame is worth restoring?
A: If it has historical or sentimental value, it’s worth restoring. Frames with real gold leaf or intricate carvings are particularly valuable.
Q: What’s the best way to clean a gold-leaf frame?
A: Use a soft brush or dry microfiber cloth. Avoid liquids, as they can dissolve the delicate gilding.
Conclusion
Restoring a vintage picture frame is a fulfilling way to preserve history and enhance the beauty of your home. By carefully assessing damage, using the right materials, and applying restoration techniques, you can give an old frame a stunning revival. Whether it's a treasured family heirloom or a flea market find, your restored frame will continue to tell its story for generations to come.
Ready to start your restoration project? Gather your tools and bring new life to your vintage frames today!


